Simple and easy Over-The-Air firmware update for any ESP8266/ESP32 MCU with cloud storage? This is it! 🙂
Step 1
If you don’t have already a device, you need to create a device in our cloud, follow this article: tutorials/devices
Install our official Arduino library: ArduinoIDE integration
Step 2
To connect with the cloud, you need to gather three identifier:
- userShortId: the short identifier of you
- deviceShortId: the short identifier of your device
- deviceKey: the secret key of your device
Step 3
Create a new Arduino sketch, copy-paste the following code and replace the ssid, the password, the userShortId, the deviceShortId and the deviceKey with your Wifi credentials and your device’s values:
#include <IoTGuru.h>

#ifdef ESP8266
  #include <ESP8266WiFi.h>
#endif
#ifdef ESP32
  #include <WiFi.h>
#endif

const char* ssid        = "ssid";
const char* password    = "password";

const char* ota_version = "example-1.0.0";

String userShortId      = "xxxxxxxxxxxxxxxxxxxxxx";
String deviceShortId    = "yyyyyyyyyyyyyyyyyyyyyy";
String deviceKey        = "zzzzzzzzzzzzzzzzzzzzzz";
IoTGuru iotGuru         = IoTGuru(userShortId, deviceShortId, deviceKey);

WiFiClient client;

void setup() {
    Serial.begin(115200);
    delay(10);

    WiFi.begin(ssid, password);
    while (WiFi.status() != WL_CONNECTED) {
        delay(50);
        Serial.print(".");
    }
    Serial.println("");

    iotGuru.setCheckDuration(60000);
    iotGuru.setDebugPrinter(&Serial);
    iotGuru.setNetworkClient(&client);

    iotGuru.firmwareUpdate(ota_version);
}

void loop() {
    if (iotGuru.check(ota_version)) {
        ESP.restart();
    }
}
Step 4
Compile the sketch and put it to the device with the old common way., the first firmware installation is inevitable. Also, you need to find the compiled firmware binary, but it is an easy task:
Sketch - Export compiled Binary(Ctrl-Alt-S)Sketch - Show Sketch Folder(Ctrl-K)
Step 5
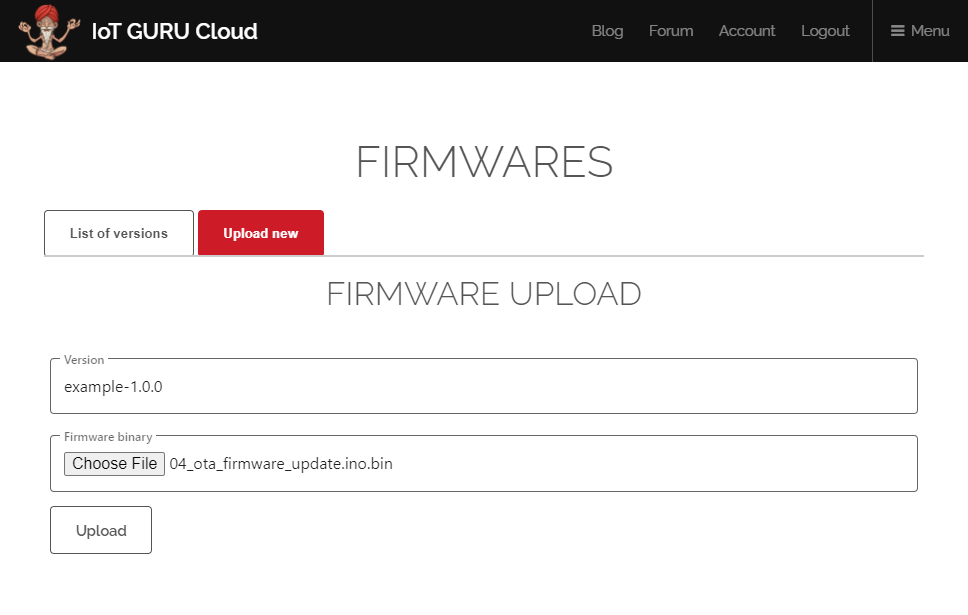
Upload the firmware binary to your Firmware storage:
Step 6
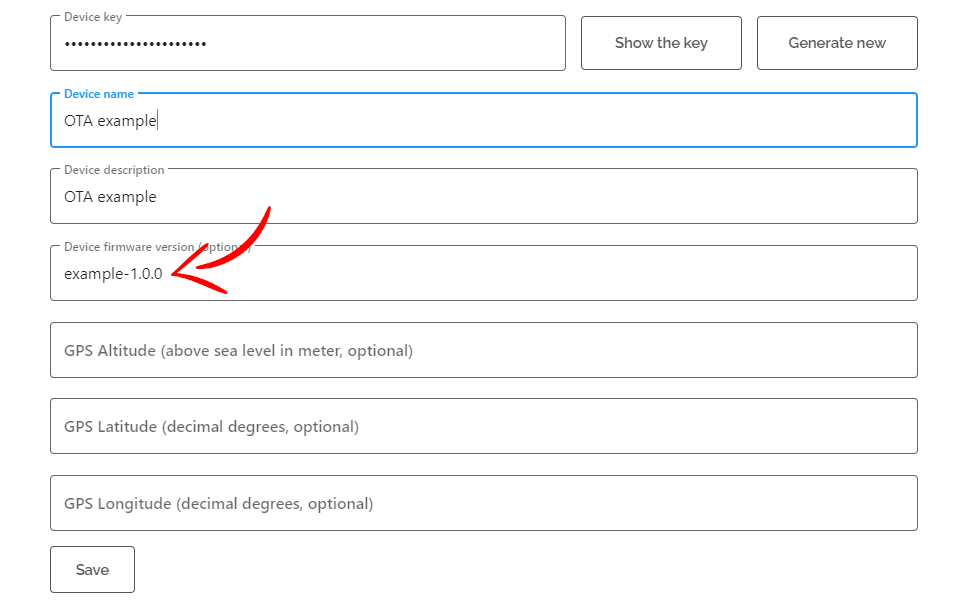
Set the Device firmware version field of your device:
Step 7
Your device will periodically check to see if its own version and the set version match; if so, then nothing will happen. If the two versions are different, it will reboot and update itself to what you specified in the Device firmware version field.
6288: {check(ota_version):72} - ENTRY
6292: {check(ota_version):75} - Send request to the cloud: http://api.iotguru.live/firmware/check/xxxxxxxxxxxxxxxxxxxxxx/example-1.0.0
6402: {check(ota_version):84} - Response received from the cloud (status code 304)
6402: {check(ota_version):86} - EXIT