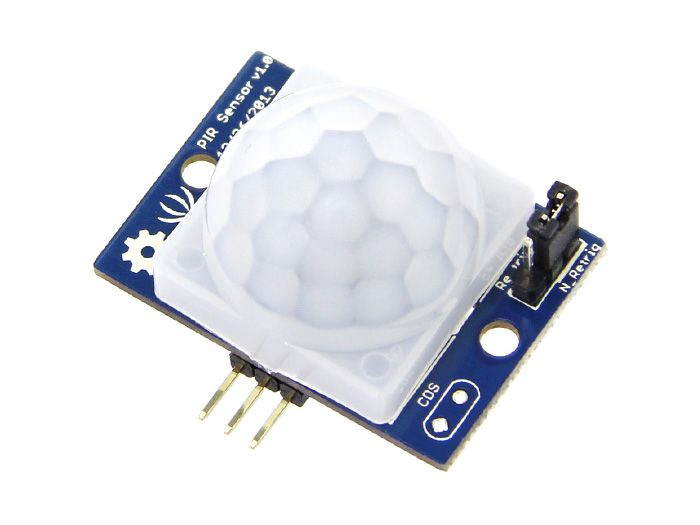
PIR(Passive Infrared Detection)are used to detect motion of human movement.
- Long-range
- Wide-angle
- Low consumption
- DC 3.0-5.5V power supplier
More information:
https://www.seeedstudio.com/PIR-Motion-Sensor-Large-Lens-version.html
PIR(Passive Infrared Detection)are used to detect motion of human movement.
More information:
https://www.seeedstudio.com/PIR-Motion-Sensor-Large-Lens-version.html
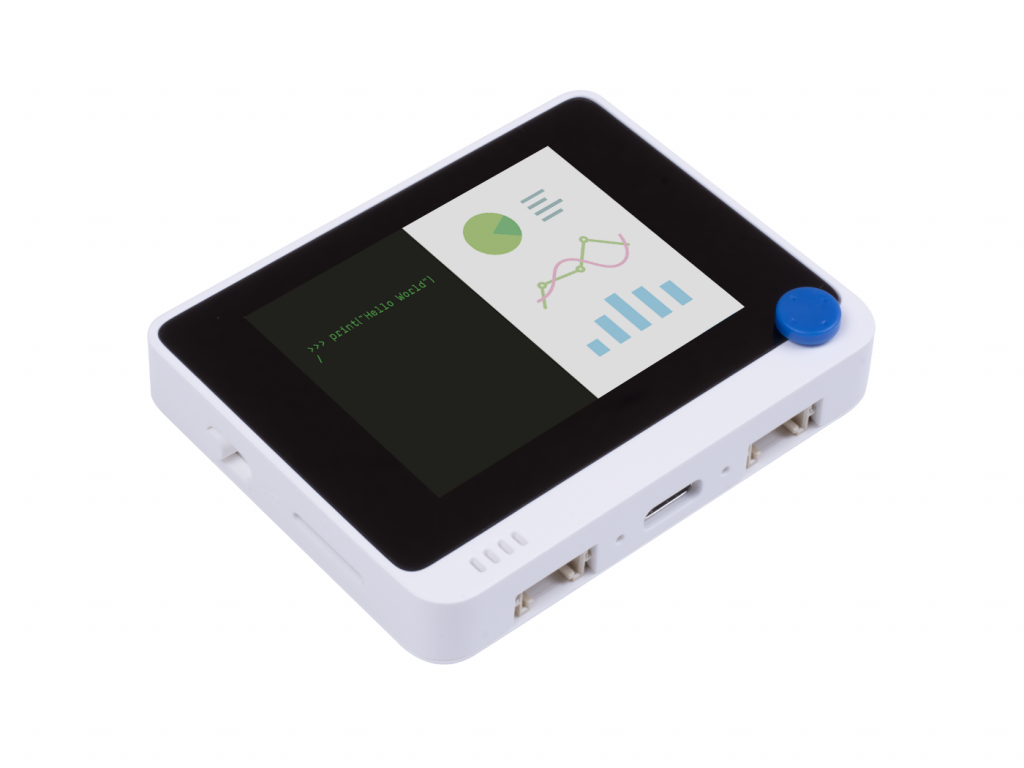
Compatible with Arduino and MicroPython, Wio Terminal is an ATSAMD51-based microcontroller with wireless connectivity supported by Realtek RTL8720DN.
More information:
https://www.seeedstudio.com/Wio-Terminal-p-4509.html
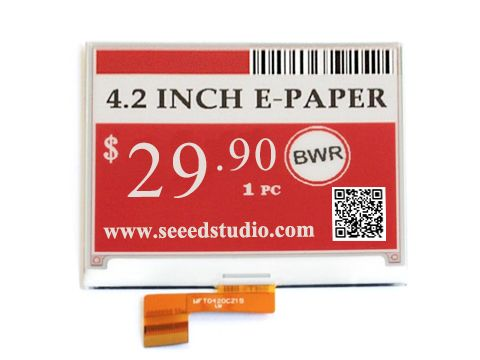
This is an E-Ink raw display, 4.2inch, 400×300 resolution, with embedded controller, communicating via SPI interface, supports red, black, and white three-color display.
Due to the advantages like ultra low power consumption, wide viewing angle, clear display without electricity, it is an ideal choice for applications such as shelf label, industrial instrument, and so on.
More information:
https://www.seeedstudio.com/4-2inch-E-Ink-raw-display-three-color-e-paper-black-white-red.html
Simple and easy Over-The-Air firmware update for any ESP8266/ESP32 MCU with cloud storage? This is it! 🙂
If you don’t have already a device, you need to create a device in our cloud, follow this article: tutorials/devices
Install our official Arduino library: ArduinoIDE integration
To connect with the cloud, you need to gather three identifier:
Create a new Arduino sketch, copy-paste the following code and replace the ssid, the password, the userShortId, the deviceShortId and the deviceKey with your Wifi credentials and your device’s values:
#include <IoTGuru.h>

#ifdef ESP8266
  #include <ESP8266WiFi.h>
#endif
#ifdef ESP32
  #include <WiFi.h>
#endif

const char* ssid        = "ssid";
const char* password    = "password";

const char* ota_version = "example-1.0.0";

String userShortId      = "xxxxxxxxxxxxxxxxxxxxxx";
String deviceShortId    = "yyyyyyyyyyyyyyyyyyyyyy";
String deviceKey        = "zzzzzzzzzzzzzzzzzzzzzz";
IoTGuru iotGuru         = IoTGuru(userShortId, deviceShortId, deviceKey);

WiFiClient client;

void setup() {
    Serial.begin(115200);
    delay(10);

    WiFi.begin(ssid, password);
    while (WiFi.status() != WL_CONNECTED) {
        delay(50);
        Serial.print(".");
    }
    Serial.println("");

    iotGuru.setCheckDuration(60000);
    iotGuru.setDebugPrinter(&Serial);
    iotGuru.setNetworkClient(&client);

    iotGuru.firmwareUpdate(ota_version);
}

void loop() {
    if (iotGuru.check(ota_version)) {
        ESP.restart();
    }
}Compile the sketch and put it to the device with the old common way., the first firmware installation is inevitable. Also, you need to find the compiled firmware binary, but it is an easy task:
Sketch - Export compiled Binary (Ctrl-Alt-S)Sketch - Show Sketch Folder (Ctrl-K)Upload the firmware binary to your Firmware storage:
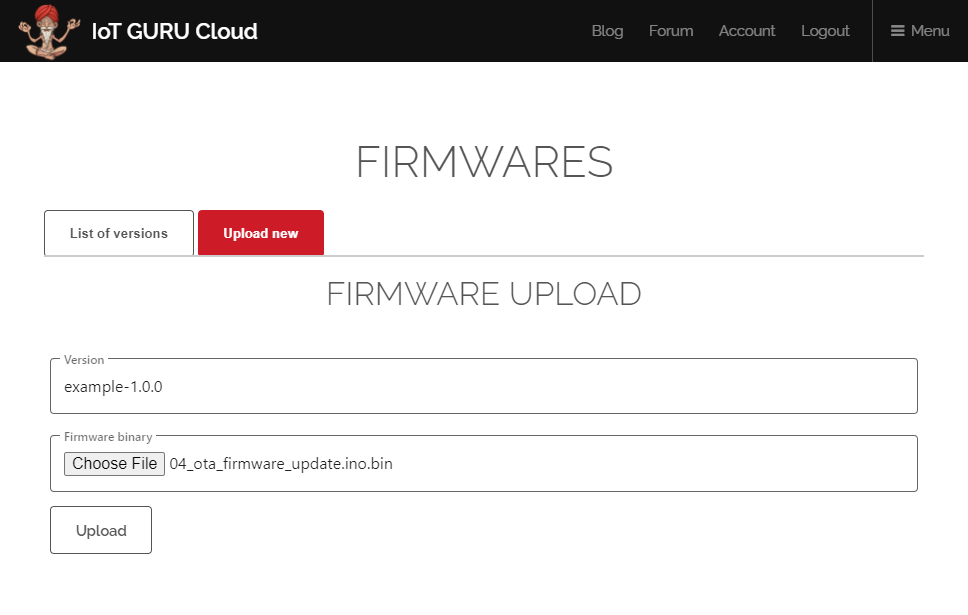
Set the Device firmware version field of your device:
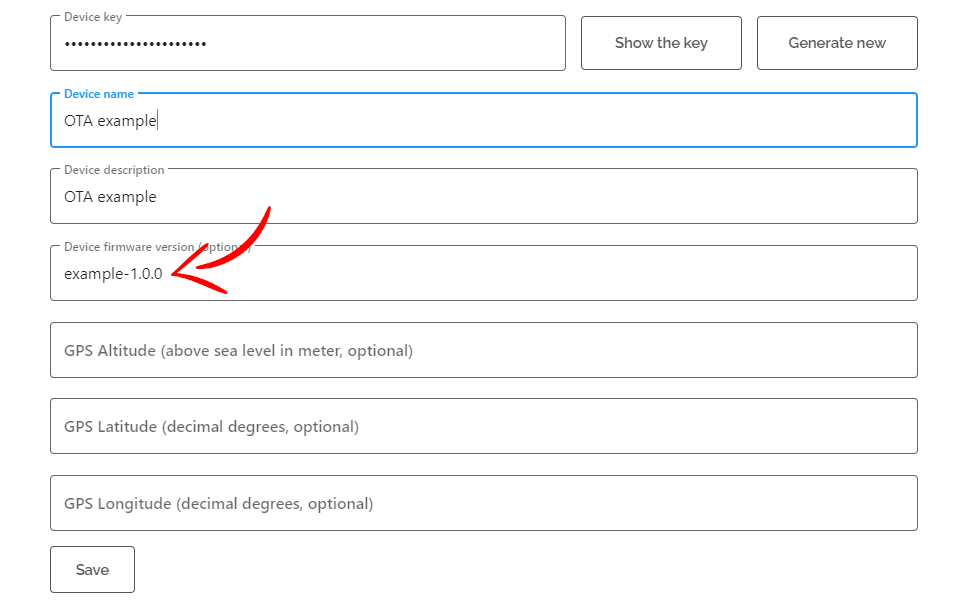
Your device will periodically check to see if its own version and the set version match; if so, then nothing will happen. If the two versions are different, it will reboot and update itself to what you specified in the Device firmware version field.
6288: {check(ota_version):72} - ENTRY
6292: {check(ota_version):75} - Send request to the cloud: http://api.iotguru.live/firmware/check/xxxxxxxxxxxxxxxxxxxxxx/example-1.0.0
6402: {check(ota_version):84} - Response received from the cloud (status code 304)
6402: {check(ota_version):86} - EXIT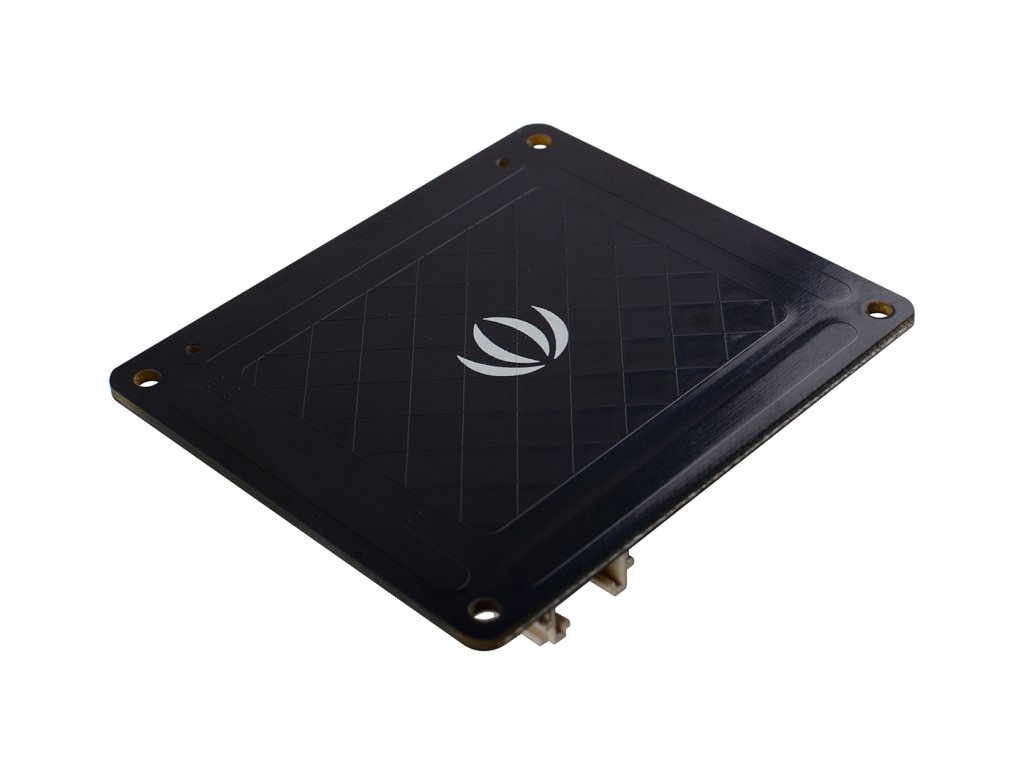
This shield is based on Microchip MGC3130 chip, which enables the Raspberry Pi with 3D gesture recognition and motion tracking function.
More information:
https://www.seeedstudio.com/3D-Gesture-Tracking-Shield-for-Raspberry-Pi-MGC3130-p-4073.html
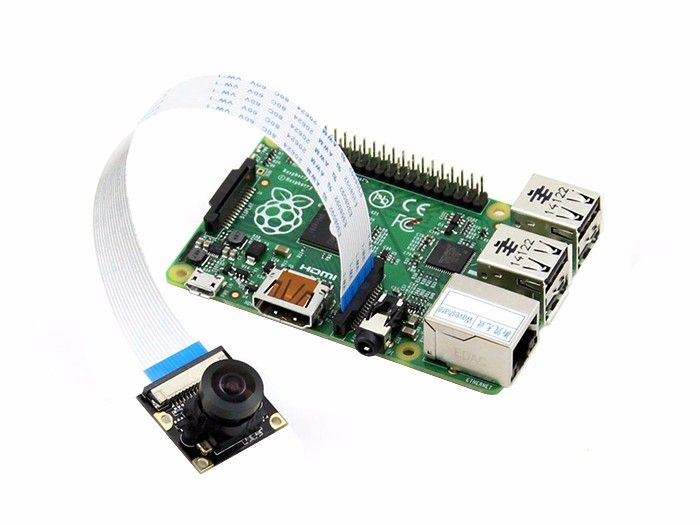
Raspberry Pi Wide Angle Camera Module is a low-cost Fisheye Lens, wider Field View,Camera module, designed for Raspberry Pi.
More information:
https://www.seeedstudio.com/Raspberry-Pi-Wide-Angle-Camera-Module.html
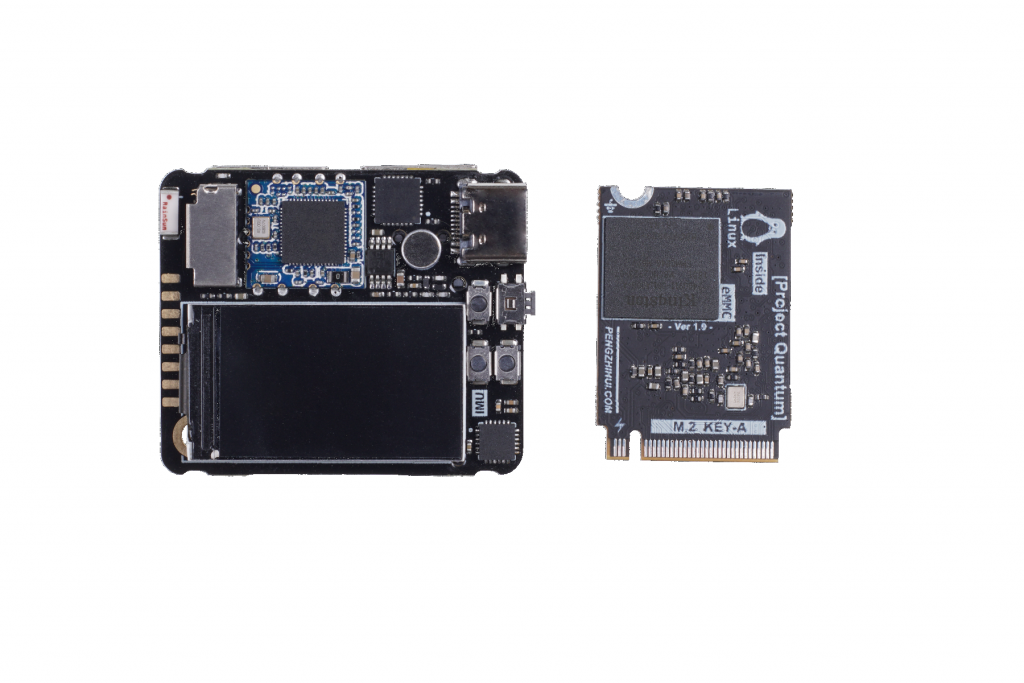
Quantum Mini Linux Development Kit consists of a SoM (System on Module) and an Allwinner H3, Quad-core Cortex-A7 CPU running at 1GHz and an expansion board with rich peripherals and interfaces.
More information:
https://www.seeedstudio.com/Quantum-Mini-Linux-Development-Kit-p-4749.html
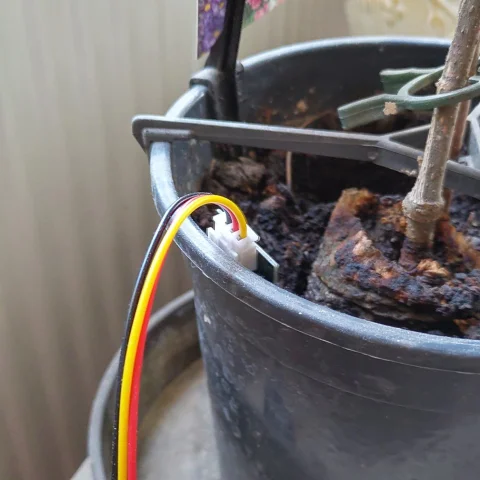
We are creating a device that measures soil moisture, based on a WEMOS D1 mini and a Capacitive Soil Moisture sensor.
With cloud integration the measurement of the sensor sent to the IoT Guru Cloud, where we get fancy graphs and we can set a warning that we need to watering the plant.
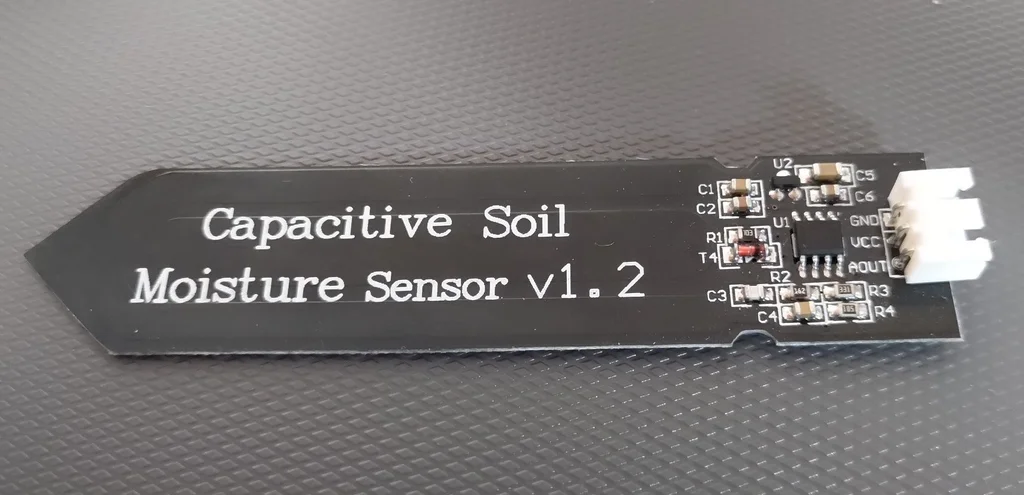
The Capacivite Soil Moisture sensor has three pin:
You can connect this pins to the WEMOS D1 mini in same order:
The source code is contains an IoT Guru Cloud integration, you can check out our Tutorials about the integration. You will need:
The code will send an analogue measurement in every one minute. Compile it and upload the firmware to your WEMOS D1 mini.
#include <IoTGuru.h>

#include <ESP8266WiFi.h>

const char* ssid      = "ssid";
const char* password  = "password";

WiFiClient client;

String userShortId    = "uuuuuuuuuuuuuuuuuuuuuu";
String deviceShortId  = "dddddddddddddddddddddd";
String deviceKey      = "kkkkkkkkkkkkkkkkkkkkkk";
IoTGuru iotGuru = IoTGuru(userShortId, deviceShortId, deviceKey);

String nodeShortId    = "nnnnnnnnnnnnnnnnnnnnnn";
String fieldName      = "analog";

void setup() {
    Serial.begin(115200);
    delay(10);

    WiFi.begin(ssid, password);
    while (WiFi.status() != WL_CONNECTED) {
        delay(50);
        Serial.print(".");
    }
    Serial.println("");

    /**
     * Set the callback function.
     */
    iotGuru.setCallback(&callback);
    /**
     * Set the debug printer (optional).
     */
    iotGuru.setDebugPrinter(&Serial);
    /**
     * Set the network client.
     */
    iotGuru.setNetworkClient(&client);

    pinMode(14, OUTPUT);
    pinMode(16, OUTPUT);
    digitalWrite(14, LOW);
    digitalWrite(16, HIGH);
}

volatile unsigned long nextSendUptime = 0;

void loop() {
    iotGuru.loop();

    if (nextSendUptime < millis()) {
        nextSendUptime = millis() + 60000;
        int analogValue = analogRead(A0);
        float analog = analogValue * (3.2 / 1023.0f) * 100.0f;
        Serial.println("Analog value: " + String(analog));
        iotGuru.sendMqttValue(nodeShortId, fieldName, analog);
    }
}

void callback(const char* nodeShortId, const char* fieldName, const char* message) {
    Serial.print(nodeShortId);Serial.print(" - ");Serial.print(fieldName);Serial.print(": ");Serial.println(message);
}
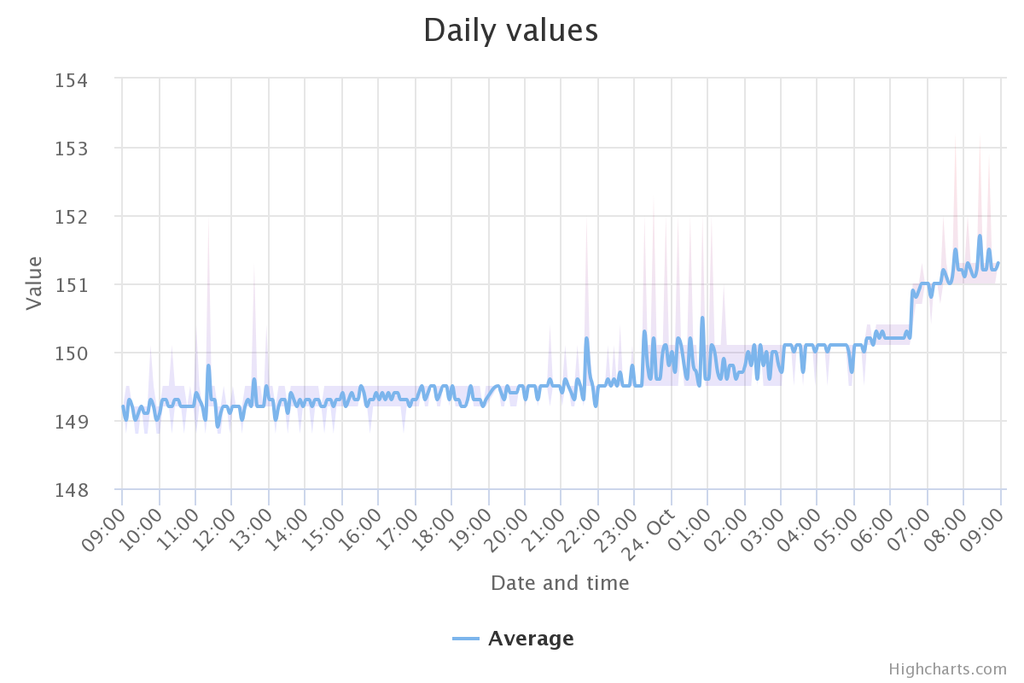
Check the chart of the measurements:
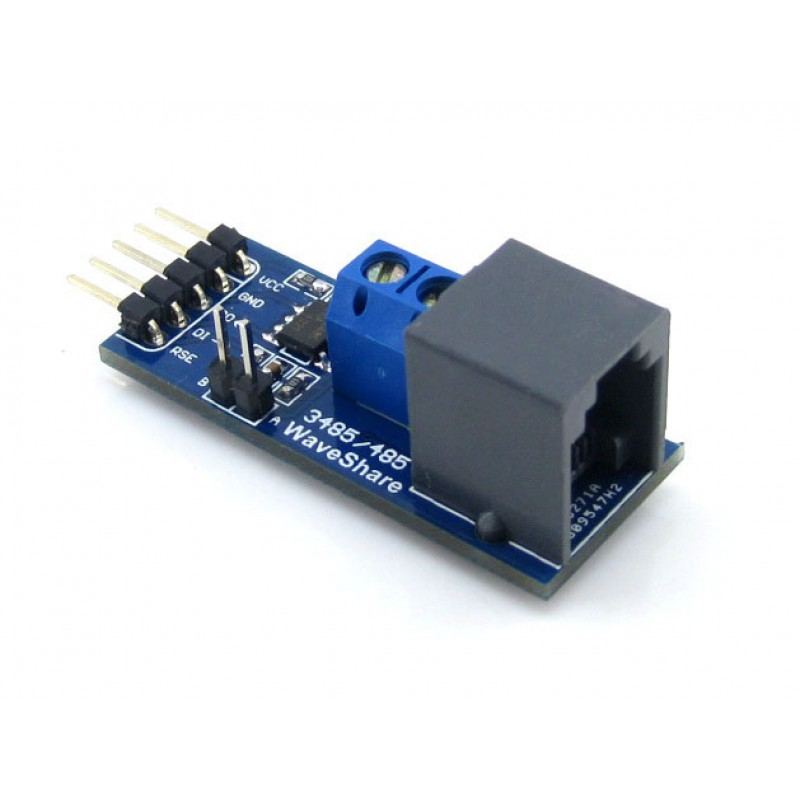
The RS485 Board (3.3V) is an accessory board used for adding the RS485 transceiver to your application board.
The RS485 Board (3.3V) features a SP3485 onboard, integrates pinheaders and connectors to support multiple communication interfaces. It is designed to use 3.3V power supply.
More information:
https://www.waveshare.com/rs485-board-3.3v.htm
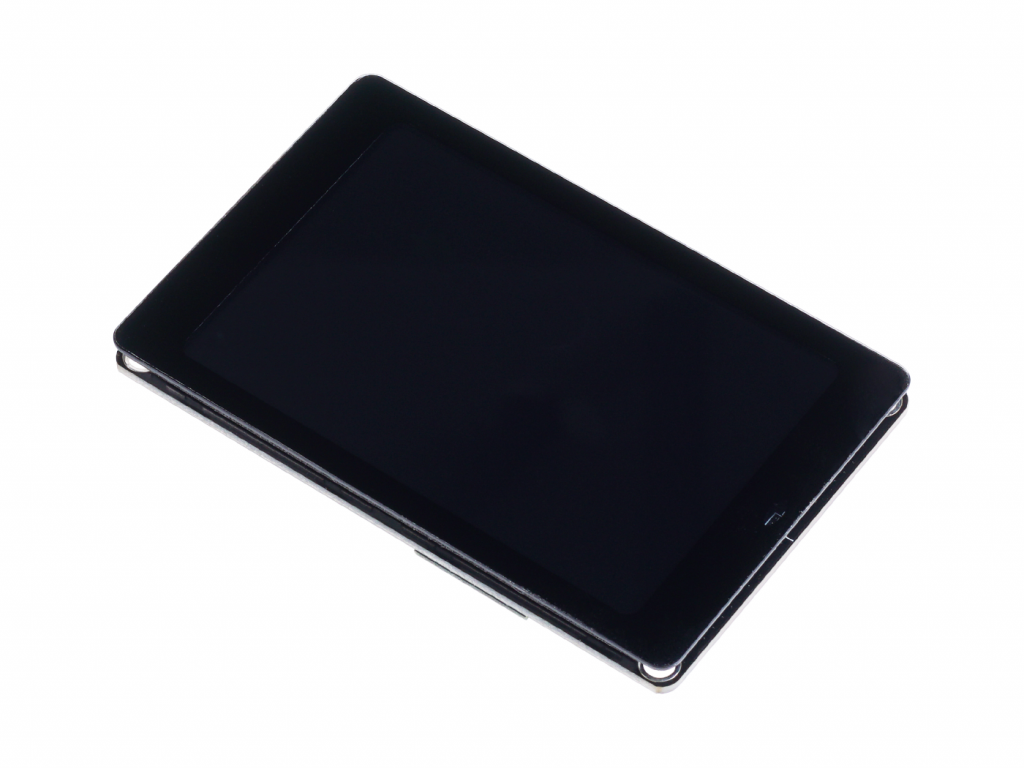
WT32-SC01 is an ESP32 Development board with a 3.5-inch color touch screen. The touch screen enables a new way of interacting with the ESP32. The board is equipped with a graphical user interface (GUI) firmware, which supports graphical drag-and-drop programming and helps users develop a customized control platform.
More information:
https://www.seeedstudio.com/ESP32-Development-board-WT32-SC01-p-4735.html